In the realm of film production, dialogue editing is a critical step that can significantly impact the overall quality of a movie. Clear and crisp dialogue ensures that audiences fully understand the characters and the plot, enhancing their emotional connection and immersion in the story. Whether you are an aspiring filmmaker, sound editor, or a film enthusiast, mastering dialogue editing is a skill worth developing. This article will dive into essential tips for clearer audio in film, helping you elevate your post-production workflow and deliver professional-sounding results.
Understanding the Importance of Dialogue Editing
Dialogue editing involves the careful cleaning, organizing, and balancing of spoken audio tracks in a film’s post-production phase. It goes beyond simply cutting and trimming clips; it requires an ear for clarity, rhythm, and consistency to create a seamless auditory experience. Clean dialogue allows viewers to focus on the characters’ emotions and narrative without distractions caused by background noise, inconsistent levels, or overlapping sounds.
Poorly edited dialogue can confuse audiences and diminish the emotional impact of scenes. For example, unclear audio can lead to repeated lines, awkward silences, or unnatural pacing. Thus, mastering dialogue editing is crucial to maintain story comprehension and keep the audience engaged throughout the film.
Preparing for Dialogue Editing: Setting Up Your Workspace
Before starting, ensure your editing environment meets professional standards for optimal results:
- Use quality headphones or studio monitors: Accurate listening gear helps detect subtle noise or inconsistencies.
- Organize your project files: Label and categorize dialogue takes clearly based on scene and speaker.
- Choose reliable software: Popular DAWs (Digital Audio Workstations) like Avid Pro Tools, Adobe Audition, or Logic Pro offer robust dialogue editing tools.
- Maintain healthy listening volume: Avoid ear fatigue by working at moderate sound levels.
Essential Techniques for Clearer Dialogue Editing
1. Clean Up Background Noise and Room Tone
One of the first tasks in dialogue editing is removing unwanted ambient sounds that interfere with clarity. These may include hums, air conditioning noise, wind, or distant footsteps.
- Use noise reduction plugins carefully; over-processing may create unnatural artifacts.
- Apply adaptive noise reduction tools to target specific frequency ranges.
- Capture and loop “room tone” (ambient sound in the recording environment) to fill in gaps naturally during cuts or silences.
2. Tighten Up the Edit with Precise Cuts and Crossfades
Smooth transitions between dialogue clips avoid distracting pops or clicks that break listener immersion.
- Use crossfades between cuts to blend audio seamlessly.
- Cut on breaths or natural pauses to maintain rhythm while removing filler words or unwanted sounds.
- Match the pacing and timing of performances by adjusting clip length subtly when needed.
3. Balance Levels and Dynamics
Consistent volume across a scene enhances intelligibility.
- Use automation to adjust the loudness of each line dynamically.
- Apply compression subtly to control peaks without flattening the natural expression of speech.
- Employ equalization (EQ) to reduce muddiness or harshness, boosting midrange frequencies (typically 1kHz–4kHz) improves vocal presence.
4. Address Mouth Noises and Plosives
Breathy vowels, lip smacks, or popping sounds (plosives) can distract viewers.
- Zoom in and manually edit or reduce unwanted noises.
- Use de-plosive plugins or transient shapers to mitigate plosive impact.
- Encourage proper microphone placement during recording to minimize these issues.
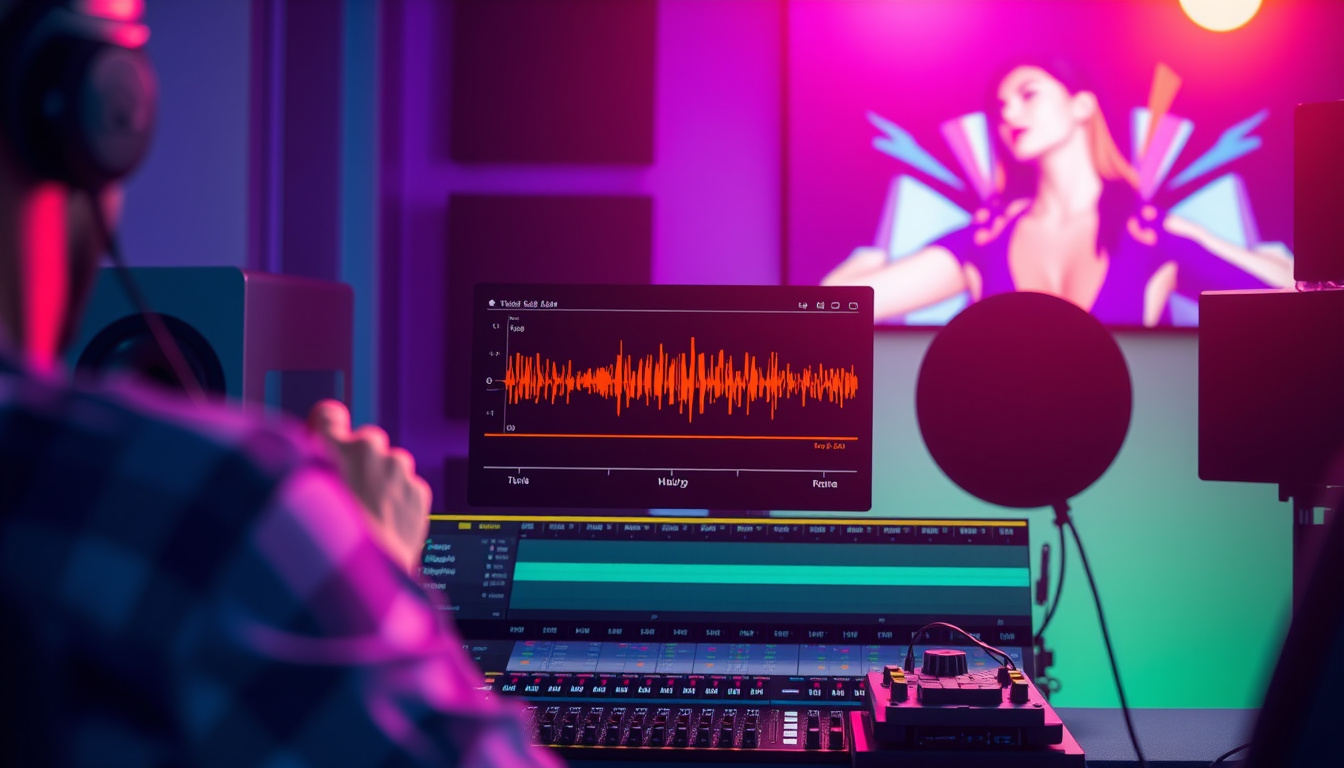
5. Synchronize Dialogue with Picture
Accurate sync between audio and visual cues is essential for believability.
- Nudge dialogue clips to match lip movements precisely.
- Reference visual waveforms and match to actor’s mouth openings for perfect timing.
- Group related clips for consistent adjustments during final mixing.
Workflow Best Practices for Efficient Dialogue Editing
To streamline the process and avoid rework, follow this step-by-step workflow:
- Import and organize all dialogue files. Label by scene and character.
- Listen through raw tracks carefully. Note problems like noise, breaths, or timing.
- Apply noise reduction plugins and clean up audio. Add room tone loops as needed.
- Perform rough cuts, removing unusable portions or errors.
- Tighten edits with crossfades and timing adjustments.
- Level dialogue clips using automation and compression.
- Apply EQ and other effects to enhance clarity.
- Resolve mouth noises, sibilance (harsh “s” sounds), and plosives.
- Perform final sync with picture and run through scene for smoothness.
- Export and back up your finished dialogue tracks for mixing.
Tools and Plugins That Enhance Dialogue Editing
Here is a list of popular tools frequently used by post-production professionals to improve dialogue quality:
- iZotope RX (audio repair and noise reduction)
- Waves Vocal Rider (automatic volume leveling)
- FabFilter Pro-Q (parametric equalizer)
- Acon Digital DeClip (plosive and clipping repair)
- Avid Pro Tools’ Clip Gain and Automation (dynamic control)
Frequently Asked Questions (FAQ)
Q1: What is the difference between dialogue editing and mixing?
A: Dialogue editing focuses on cleaning and preparing dialogue tracks for clarity and consistency, whereas dialogue mixing combines all elements, including music and effects, adjusting volume and spatial placement in the final soundtrack.
Q2: How important is dialogue editing in film production?
A: Dialogue editing is crucial as it ensures lines are clear and understandable, which helps storytelling. Without it, background noise or inconsistencies can distract viewers and break immersion.
Q3: Can I perform dialogue editing using free software?
A: Yes, free tools like Audacity can work for basic editing, but professional software offers advanced features and plugins necessary for high-level noise reduction and mixing.
The Role of Dialogue Editing in Film Success
Effective dialogue editing can make or break how audiences perceive a film’s quality. The best cinematic moments rely not just on visuals but on the clarity and delivery of spoken words. Renowned filmmakers and sound editors invest considerable time in refining dialogue to ensure emotional impact and narrative clarity. According to FilmSound.org, excellent sound mixing, which integrates clean dialogue editing, significantly improves viewer engagement and satisfaction.
Conclusion: Elevate Your Film’s Audio with Mastered Dialogue Editing
Mastering dialogue editing is indispensable for filmmakers aiming to deliver polished, professional-quality audio. By applying these essential tips—noise cleanup, precise cuts, dynamic level adjustments, and perfect synchronization—you can enhance the clarity and impact of your film’s dialogue. Remember to utilize the right tools, work methodically, and trust your ears to guide decisions. Clearer audio not only improves viewer comprehension but also elevates emotional resonance, helping your story resonate long after the credits roll.
Ready to transform your film’s audio quality? Begin mastering dialogue editing today and unlock the full potential of your storytelling through sound!