Storyboarding is a powerful pre-production tool that allows creators to transform ideas into visual stories effectively. Whether you are a filmmaker, animator, marketer, or educator, understanding how to storyboard can streamline the creative process and ensure a clear, compelling narrative. This article delves into essential storyboarding techniques, helping you bring your concepts to life and communicate them visually with precision.
What Is Storyboarding and Why Is It Important?
At its core, storyboarding is the process of sketching out a sequence of events in the form of drawings or images, accompanied by notes or dialogue. This visual roadmap lays the foundation for any creative project by mapping out scenes, camera angles, character actions, and key transitions. Storyboarding helps teams:
- Visualize the story before extensive production begins
- Identify potential storytelling or pacing issues early
- Communicate ideas clearly among collaborators
- Save time and resources by avoiding costly reshoots or redesigns
Successful storyboarding transforms abstract ideas into concrete visuals, making it indispensable for effective storytelling in film, advertising, animation, and even business presentations.
Essential Storyboarding Techniques for Effective Visual Storytelling
To master storyboarding, adopting the right techniques is crucial. These methods guide you in crafting a storyboard that not only conveys your idea but also captures your audience’s attention.
1. Define Your Story’s Core Elements
Before putting pen to paper, clarify the basic elements of your story:
- Objective: What is the goal of your story? Is it to educate, entertain, persuade?
- Characters: Who is involved, and what motivates them?
- Setting: Where and when does your story take place?
- Plot points: What are the key events that drive your story forward?
Having a solid understanding of these components ensures every storyboard frame serves a purpose.
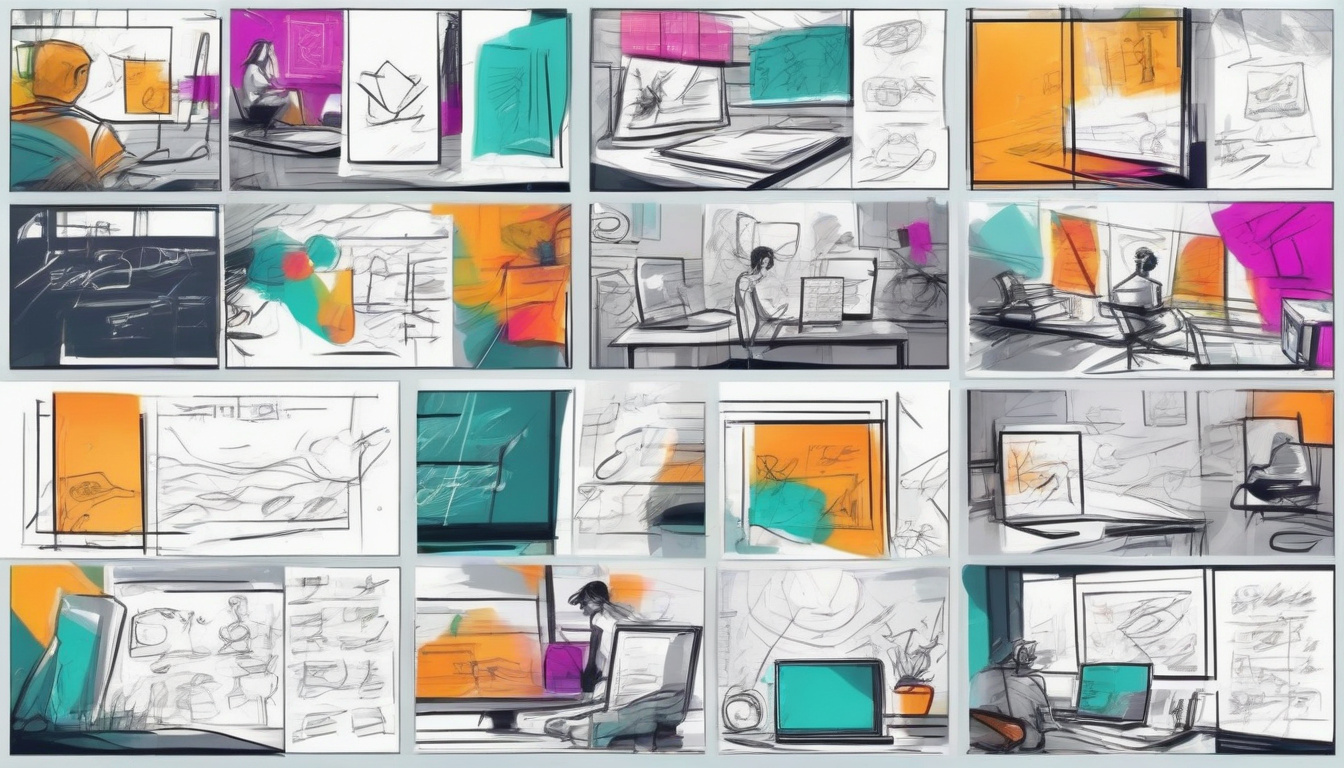
2. Start with Thumbnails or Rough Sketches
Begin your storyboard with small, quick sketches known as thumbnails. These rough visualizations help you plan the general composition and sequence without getting bogged down by details. Thumbnails are flexible, allowing easy rearrangement or deletion as you refine the narrative flow.
3. Focus on Composition and Framing
Each frame should have clear framing and composition that prioritize storytelling:
- Use the rule of thirds to position key elements
- Experiment with camera angles (close-ups, wide shots, bird’s-eye view) to create mood or emphasis
- Show character movements and interactions clearly
Strong composition strengthens the narrative impact of each shot.
To convey motion, camera movements, or transitions, use arrows and notes alongside your drawings. Indicate zooms, pans, character paths, and timing cues succinctly. This additional information helps production teams understand the intended flow and dynamics of each scene.
5. Decide the Level of Detail
Depending on your project, determine how detailed your storyboard must be. Some productions require stick-figure sketches with brief notes, while others demand polished, fully colored frames with elaborate staging. Tailor the detail level to your team’s needs and project scope.
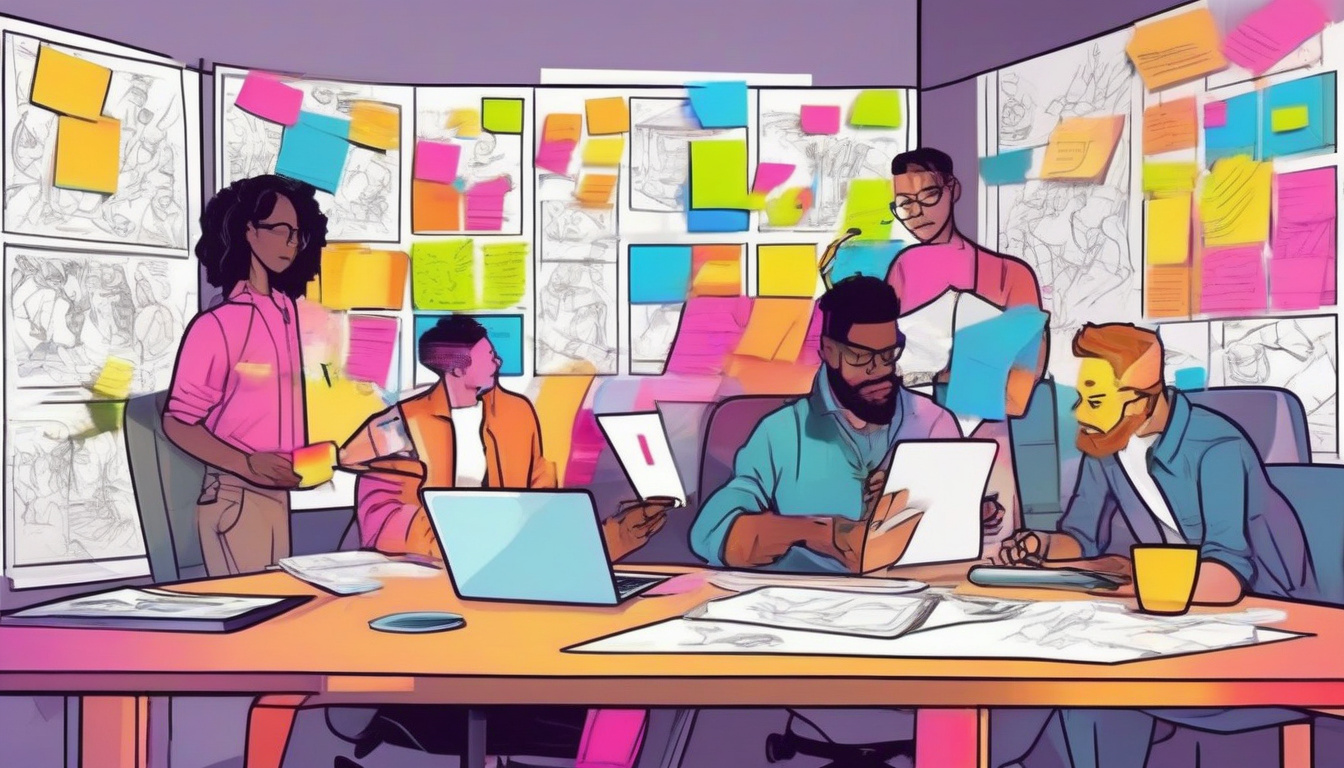
6. Organize Your Storyboard in a Logical Sequence
Arrange panels in chronological order to maintain continuity. Number your frames, and group scenes by acts or narrative beats if needed. This structure makes it easier to review and revise the storyboard systematically.
Tools for Creating Effective Storyboards
Various tools can facilitate the storyboarding process, ranging from traditional to digital methods:
- Paper and pencil: Ideal for quick sketches and brainstorming
- Storyboard templates: Pre-printed grids help maintain consistent panel sizes
- Digital apps: Software like Storyboarder, Toon Boom Storyboard Pro, and Adobe Photoshop streamline drawing and editing, plus easy sharing
- 3D storyboarding tools: For more advanced visualization, platforms like Blender or FrameForge provide dimensional perspectives
Choose the tool that best fits your workflow to enhance efficiency and clarity.
A Step-by-Step Guide to Crafting a Storyboard
Here’s a practical approach to transform your idea into a storyboard:
- Write a script or outline: Draft the dialogue or narration and basic sequence of events
- Create thumbnail sketches: Map out the rough flow of visuals
- Refine sketches into detailed frames: Add character expressions, backgrounds, and precise framing
- Add motion and transition notes: Indicate camera movements and timing
- Review and revise: Share with collaborators to gather feedback and improve pacing or clarity
- Finalize your storyboard: Prepare a polished version for production use
Following this procedure ensures a well-thought-out storyboard that effectively communicates your vision.
Why Storyboarding Matters in Various Industries
Storyboarding is not confined to filmmaking or animation. Its application spans many fields:
- Marketing: Plan commercials, social media videos, or branded content
- Education: Design instructional videos or presentations
- Game design: Map out gameplay sequences and character interactions
- UX/UI design: Visualize user flows and app interfaces
In every case, storyboarding improves the storytelling process by visually organizing ideas and encouraging iterative improvement.
FAQ About Storyboarding Techniques
Q1: What is the best way to start storyboarding for beginners?
A: Beginners should start by breaking down their story into key scenes and creating simple thumbnail sketches. Focus on getting the sequence right before adding details.
Q2: How detailed should a storyboard be?
A: The level of detail depends on the project’s complexity and team needs. For example, animated films often require detailed frames, while quick marketing pitches can use simple sketches and notes.
Q3: Can storyboarding help with time management?
A: Absolutely. Storyboarding reveals potential problems early, allowing you to plan efficiently and avoid costly mistakes during filming or production.
Authoritative Insight on Storyboarding
According to the American Society of Cinematographers, storyboarding is an essential step that enables directors and cinematographers to visualize scenes meticulously before shooting, which ensures creative alignment and technical feasibility (source).
Conclusion: Bring Your Ideas to Life with Storyboarding Today
Mastering storyboarding techniques unlocks the ability to transform your ideas into compelling visual narratives efficiently and effectively. By planning your story frame-by-frame, you reduce uncertainty, improve communication, and elevate the overall quality of your projects. Whether you’re launching a new video campaign, designing an educational series, or creating a feature film, now is the time to embrace storyboarding. Grab your sketchpad or digital tool, and start turning your concepts into captivating visual stories that resonate and inspire. Your audience awaits!